近期给教务系统适配了Passkeys,出一篇教程如何使用和适配。
1. 什么是 Passkeys?
Passkeys 是基于 WebAuthn(Web Authentication API)的新一代身份验证方式,可以取代传统密码登录。
它的核心特点是:
- 免密码:用户无需记忆复杂密码
- 更安全:公钥加密,防钓鱼、防数据库泄露
- 跨设备同步:iCloud Keychain、Google Password Manager 等可自动同步
- 无感体验:生物识别(指纹/人脸)或设备 PIN 码验证
简单来说,Passkeys 让用户只需用指纹或人脸就能安全登录你的应用。
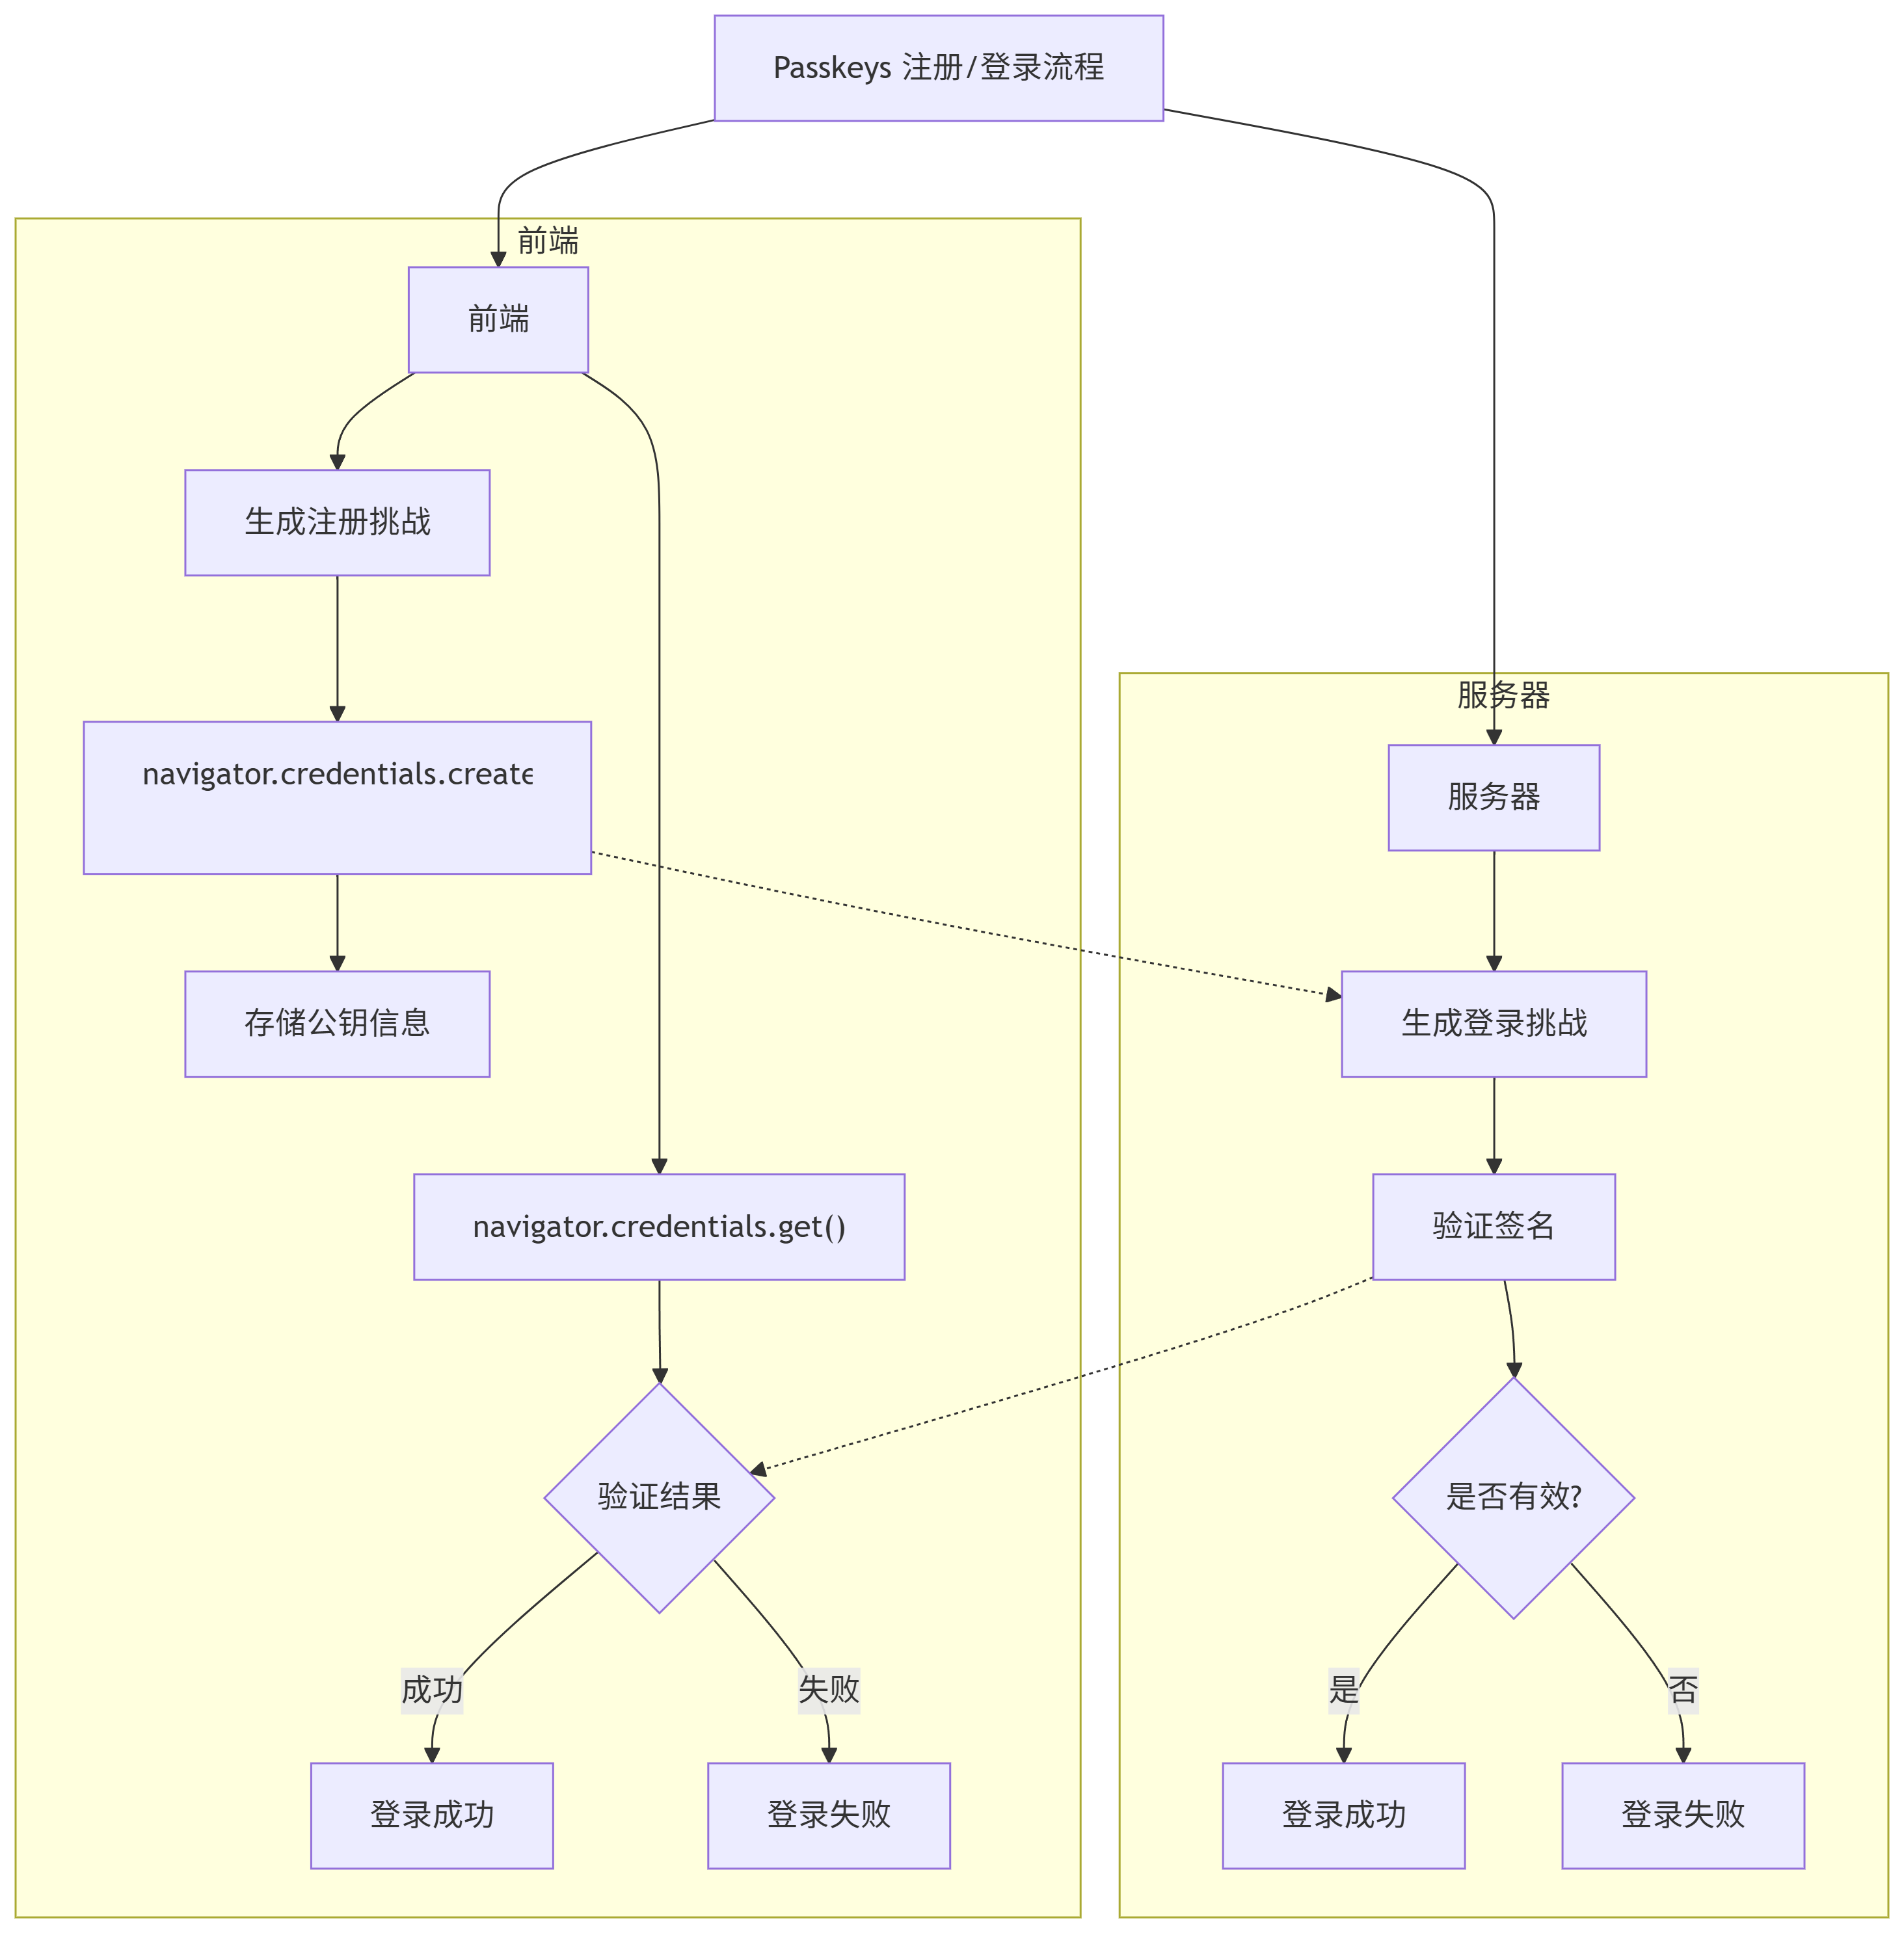
2. WebAuthn 工作流程
- 注册阶段
- 服务器生成注册挑战(challenge)
- 前端调用 navigator.credentials.create() 创建凭证
- 客户端返回公钥信息给服务器存储
- 登录阶段
- 服务器生成登录挑战
- 前端调用 navigator.credentials.get() 验证凭证
- 客户端签名返回给服务器进行验证

3. 浏览器支持情况
Passkeys 依赖 WebAuthn Level 2 API,主流浏览器(Chrome、Edge、Safari、Firefox)在桌面和移动端都已支持。
可以用下面代码检测支持情况:
<script> if (window.PublicKeyCredential) { console.log("✅ 支持 WebAuthn API"); } else { console.log("❌ 当前环境不支持 WebAuthn"); } </script>
4. 注册 Passkey 示例
下面的例子模拟了前端调用注册 Passkey 的流程。
实际生产环境中,challenge 和 RP ID 需要从服务器获取。
<!DOCTYPE html> <html> <head> <meta charset="UTF-8"> <title>Passkeys 注册示例</title> </head> <body> <button id="registerBtn">注册 Passkey</button> <script> // Base64URL 转 ArrayBuffer function base64urlToArrayBuffer(base64url) { let base64 = base64url.replace(/-/g, '+').replace(/_/g, '/'); let binary = atob(base64); let bytes = new Uint8Array(binary.length); for (let i = 0; i < binary.length; i++) { bytes[i] = binary.charCodeAt(i); } return bytes.buffer; } document.getElementById('registerBtn').addEventListener('click', async () => { // 模拟后端返回的注册参数 const publicKey = { challenge: Uint8Array.from(window.crypto.getRandomValues(new Uint8Array(32))), rp: { name: "My Website", id: window.location.hostname }, user: { id: Uint8Array.from(window.crypto.getRandomValues(new Uint8Array(16))), name: "testuser@example.com", displayName: "Test User" }, pubKeyCredParams: [{ type: "public-key", alg: -7 }], authenticatorSelection: { authenticatorAttachment: "platform", residentKey: "required", userVerification: "preferred" }, timeout: 60000, attestation: "direct" }; try { const credential = await navigator.credentials.create({ publicKey }); console.log("注册成功", credential); // 发送 credential 到服务器保存 // fetch("/register", { method: "POST", body: JSON.stringify(credential) }); } catch (err) { console.error("注册失败", err); } }); </script> </body> </html>
5. 登录 Passkey 示例
<!DOCTYPE html> <html> <head> <meta charset="UTF-8"> <title>Passkeys 登录示例</title> </head> <body> <button id="loginBtn">使用 Passkey 登录</button> <script> document.getElementById('loginBtn').addEventListener('click', async () => { // 模拟后端返回 challenge const publicKey = { challenge: Uint8Array.from(window.crypto.getRandomValues(new Uint8Array(32))), allowCredentials: [{ type: "public-key", id: Uint8Array.from(window.crypto.getRandomValues(new Uint8Array(16))) }], timeout: 60000, userVerification: "preferred" }; try { const assertion = await navigator.credentials.get({ publicKey }); console.log("登录成功", assertion); // 将 assertion 发送到服务器验证 // fetch("/login", { method: "POST", body: JSON.stringify(assertion) }); } catch (err) { console.error("登录失败", err); } }); </script> </body> </html>
6. 开发注意事项
- HTTPS 必须:WebAuthn 只能在 HTTPS 或 localhost 下运行
- 服务器参与:实际 challenge 和 credential ID 必须由后端生成和验证
- 跨设备同步:如果用户用的是 iCloud Keychain/Google Password Manager,同一账号设备可以直接登录
- UI 设计:给用户明确提示,比如“使用 Face ID 登录”或“使用 Passkey 登录”

7. 总结
Passkeys + WebAuthn 是未来主流的身份认证方式,相比传统密码安全性更高、体验更好。
前端实现主要分为两步:
- navigator.credentials.create() 注册
- navigator.credentials.get() 登录
配合后端 API,即可轻松实现无密码的登录体验。